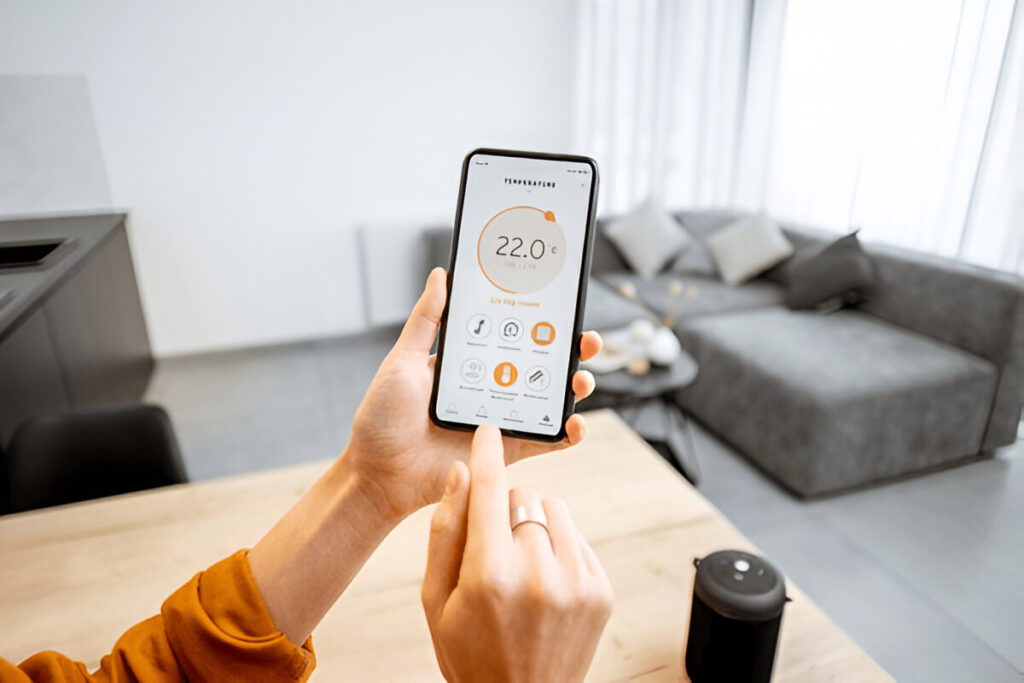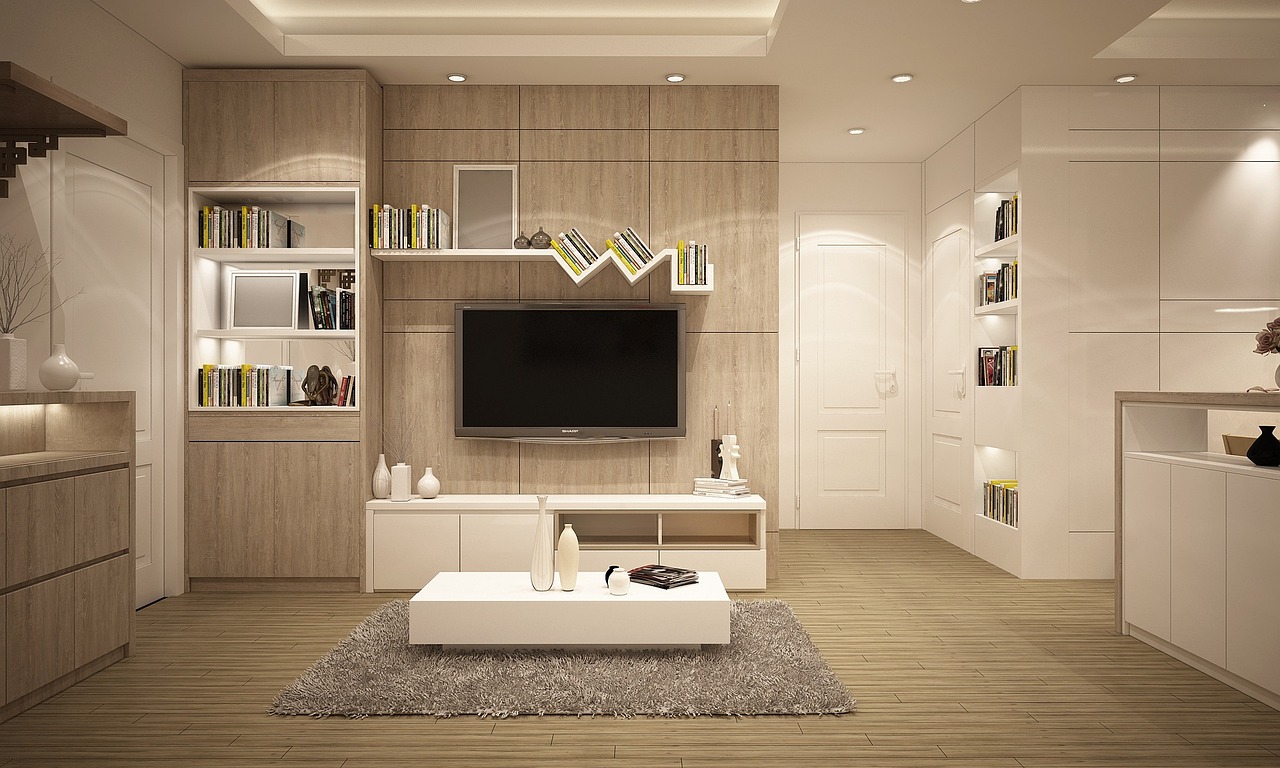
Smart lighting isn’t just a high-tech trend—it’s a practical upgrade that makes your home more comfortable, energy-efficient, and even safer. Whether you’re remodeling or starting fresh, setting up smart lighting zones gives you complete control over how your home is lit.
But before you dive into installing smart switches and bulbs, there’s one important step you can’t skip: you need to install cable systems electrical properly. Without the right wiring and layout, even the best lighting tech won’t work the way it should.
Let’s walk through how to plan your smart lighting zones and get them working seamlessly.
What Are Smart Lighting Zones?
Smart lighting zones are areas of your home where lights are grouped together and controlled as a unit—either by time, motion, or app. Think kitchen lights turning on at sunrise or your hallway lighting up when you walk through at night.
Benefits include:
- More comfort: Set the perfect mood in each room.
- Energy savings: Lights only stay on when needed.
- Added safety: Keep outdoor and hallway areas well-lit automatically.
But it all depends on having the right electrical setup behind the scenes.
Step 1: Start With a Plan
Begin by walking through your home and noting how you use each space. Ask yourself:
- Where do you need bright task lighting?
- Which rooms should have dimmable or ambient lights?
- Are there areas that would benefit from motion sensors?
If the job feels bigger than DIY, it’s a good idea to call in commercial electricians who can help with large-scale planning and installations.
Step 2: Install Cable Systems Electrical Correctly
You can’t have smart lighting without the right electrical wiring in place. This is where it becomes crucial to install cable systems electrical the right way—from running new lines to connecting control systems to your panel.
Professionals often use tools like an electrical circuit tracer to safely map your home’s electrical system before they start any upgrades.
Step 3: Add Smart Switches and Dimmers
Once your zones are wired, it’s time to install smart switches, dimmers, and other devices that bring your system to life. These let you control lights remotely or even automate them based on time or movement.
Before adding new components, it’s smart to test everything with an electrical tester breaker and outlet to make sure your system is good to go.
Step 4: Think Beyond the Indoors
Smart lighting doesn’t stop at your front door. Your outdoor areas—driveways, patios, gardens—can also benefit from intelligent lighting. Add motion detection or timers to save energy and boost security.
Explore beautiful and functional outdoor landscape lighting options to brighten up your exterior and tie your whole system together.
Step 5: Stay Safe with Smart Protection
With all that tech comes the need for added safety. One great upgrade is an arc detector breaker, which can detect dangerous electrical arcing and prevent fires—especially important in homes with older wiring.
And if you’re not confident in your setup, having a commercial electrician near me take a look can give you peace of mind.
Final Thoughts
Smart lighting zones can totally transform the way your home looks, feels, and functions. But none of it works without solid electrical work behind the scenes. Take the time to install cable systems electrical correctly so that your lighting system is reliable, safe, and future-ready.
And remember: when it comes to home upgrades, doing it right the first time always pays off.