

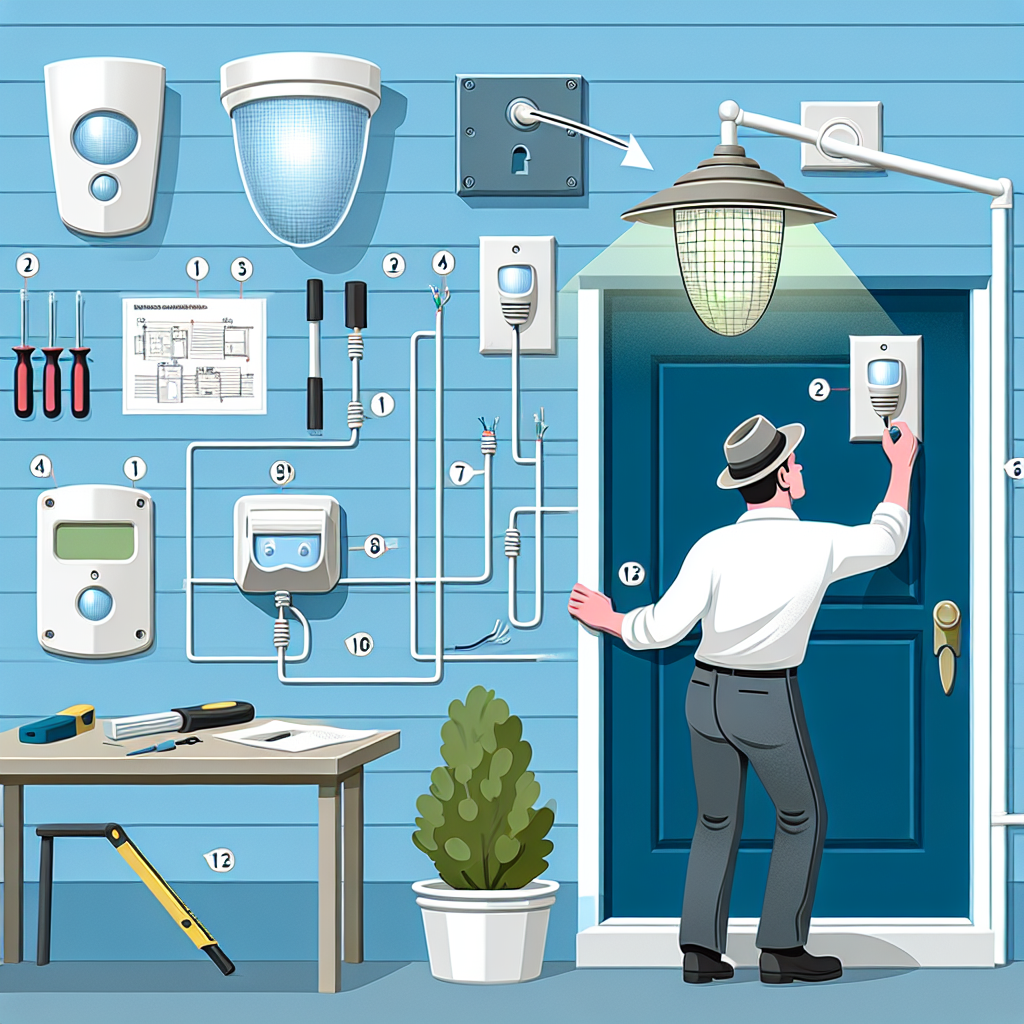

When it comes to home security, adding motion sensor lights can be a game changer. Not only do they help you see in the dark, but they also make your home less appealing to potential burglars. A sudden light turning on can be a big deterrent for intruders. Plus, motion sensor lights are convenient—they only turn on when you need them! If you’re thinking about installing motion sensor lights for extra protection, here’s a simple guide on how to do it.
Why Motion Sensor Lights Are a Smart Choice
Before diving into the installation process, let’s quickly talk about why motion sensor lights are so beneficial:
- Increased Visibility: They light up dark areas around your home, such as driveways, walkways, or backyard spaces.
- Enhanced Security: The sudden burst of light can startle potential intruders, making them think twice about entering your property.
- Energy Efficiency: These lights only turn on when they detect movement, so they save you energy and money on your electric bill.
- Convenience: No more fumbling for switches in the dark—your light will automatically come on when you need it.
If you’re considering more complex outdoor lighting options, landscape lighting can add extra flair to your outdoor space and security in one go.
Step 1: Choose the Right Motion Sensor Light
There are different types of motion sensor lights, so pick one that fits your needs:
- Outdoor Motion Sensor Lights: Built to handle all sorts of weather conditions, perfect for outdoors.
- Solar Motion Sensor Lights: These are great if you want an eco-friendly option, as they don’t require wiring.
- LED Motion Sensor Lights: Energy-efficient and long-lasting, LED lights are perfect for bright illumination.
If you want even more control over your lighting, installing cable systems electrical could be a good long-term solution. This way, you don’t have to rely on batteries or solar power.
Step 2: Pick the Perfect Spot for Installation
The next step is to decide where to install the lights. Common spots include:
- Entryways: Around the front door or garage, so you can see when someone approaches.
- Driveways: Helps you see when pulling in at night and adds security.
- Walkways and Paths: Safely light the way to your home or garden.
Be sure to aim the motion sensor in the right direction. You don’t want it facing trees or bushes, as wind or animals can cause it to go off unnecessarily. If you want a professional to set it up, commercial electricians can ensure the positioning is perfect.
Step 3: Turn Off the Power
Safety first! Before you start wiring, always switch off the power at your electrical panel to avoid any accidents.
If you’re unsure about wiring, don’t hesitate to call a residential electrician for help, especially if you’re dealing with new wires or circuits.
Step 4: Install the Motion Sensor Light Fixture
Now, it’s time to get the fixture up. Here’s a simple breakdown:
- Mount the Base: Attach the light fixture’s base to your wall or ceiling. Use screws or anchors to make sure it’s secure.
- Wire the Fixture: If your light needs to be hardwired, connect the wires—black to hot, white to neutral, and green to ground.
If you don’t want to deal with wiring, installing cable systems electrical is a great option for a more permanent solution.
- Install the Bulb and Sensor: Screw in the light bulb, then attach the motion sensor on top.
Step 5: Adjust the Motion Sensor
Now for the fun part—adjusting the sensor! Most motion sensors have a few key settings:
- Sensitivity: Adjust how sensitive the sensor is. You don’t want it triggered by every little movement like leaves blowing in the wind.
- Time Delay: This controls how long the light stays on after detecting movement. A common setting is anywhere from 1 to 10 minutes.
- Detection Range: Adjust how far the sensor can detect motion. You want to cover the area, but not too much, so it doesn’t trigger false alarms.
After you’ve made the adjustments, electrical testers for breakers and outlets can help you check everything’s working correctly.
Step 6: Test the Light
After you’ve installed and adjusted everything, turn the power back on and test your light. Walk in front of the sensor to see if the light turns on as expected. Adjust the settings as needed until you get the right results.
Step 7: Keep It Maintained
Don’t forget to maintain your motion sensor light! Clean the sensor lens regularly to keep it free of dirt or cobwebs, which can affect its performance. And don’t forget to test the light every few months to make sure it’s still working.
When to Call a Pro
Sometimes it’s best to call in a professional. Here’s when you might want to get a commercial electrical contractor to help:
- Complex Wiring: If you need to run new wires or connect it to an electrical circuit, it’s safer to get help from a pro.
- High or Hard-to-Reach Locations: If your motion sensor light needs to be installed on a high roof or awkward spot, professionals have the tools and skills to get it done safely.
- Unfamiliar with Wiring: If you don’t know how to safely wire the fixture, it’s always better to get professional help to avoid electrical issues.
Conclusion
Installing motion sensor lights is a great way to boost your home’s security and lighting. With the right preparation, it’s something you can do yourself, but if you’re looking for a more complex setup or peace of mind, commercial electricians can ensure everything is installed correctly and safely. With motion sensor lights, you’ll enjoy both peace of mind and a more secure home!